Tuesday, August 21, 2012

Dorm DIY: Let's Put a New Coat of Paint On This Lonesome Old Town

Hi, everyone!! Today, I have a few new inexpensive back-to-school DIY projects to share with you!  I am including two different projects in today's post because both are incredibly quick and easy.  So, without further ado, let's get started!

My first project was spicing up a plain backpack with some fabric paint.  I am totally a backpack girl.  I find that carrying a backpack is the simplest way to carry a load of books, clothes, or even a laptop around campus.  However, if I am going to carry the same accessory on a daily basis, I would like it to be a representation of myself and my personality.  Last school year, I went green on my backpack purchases, using a backpack made out of recycled rice bags first semester and a backpack made out of a recycled Lay's potato chips bag second semester.

Unfortunately though, the rice bag backpack ripped rather early in the school year and the chips backpack proved to be too small for my chorus and voice rep binders (which are music major essentials).  Thus, I decided I needed to get a new, larger, and more sturdy backpack for the coming school year.

I went on the ever-wonderful Amazon.com to find a new recycled pack, but the total cost of the bag with tax and shipping ended up being too much money for my frugal college student wallet to handle.  I also found this adorable bag:

which is both adorable, large, and ecofriendly.  However, it was out of my budget as well.  So, I grudgingly decided to settle for this backpack at Target:
Though it is admittedly cute (clearly I've hopped on the cute bird pattern trend), it was slightly smaller than I had hoped for, and I wasn't looking forward to feeling super generic when other people had the same backpack this school year.

But then, AC Moore came to the rescue yet again!  My mom saw in the ads that AC Moore was selling backpacks for a mere $5!!  My little sister and I scrambled to the store the next morning to pick up new backpacks.  I was so excited when I saw that they came in plain colors, hoping I could tie-dye or add an adorable iron-pattern to give it interest.  Unfortunately, they were 100% polyester (which doesn't take most common dyes and will melt if ironed) so I couldn't, but fortunately, I found the cutest $2 butterfly stencil that I have ever seen.  I purchased the backpack, stencil, and fabric paint for $10, less than half of what I spent on the now-returned Target backpack.  I then patterned the bag with cute butterfly designs, and I am in love with how it turned out!! I can't wait to carry it around on campus!!  Take a look:


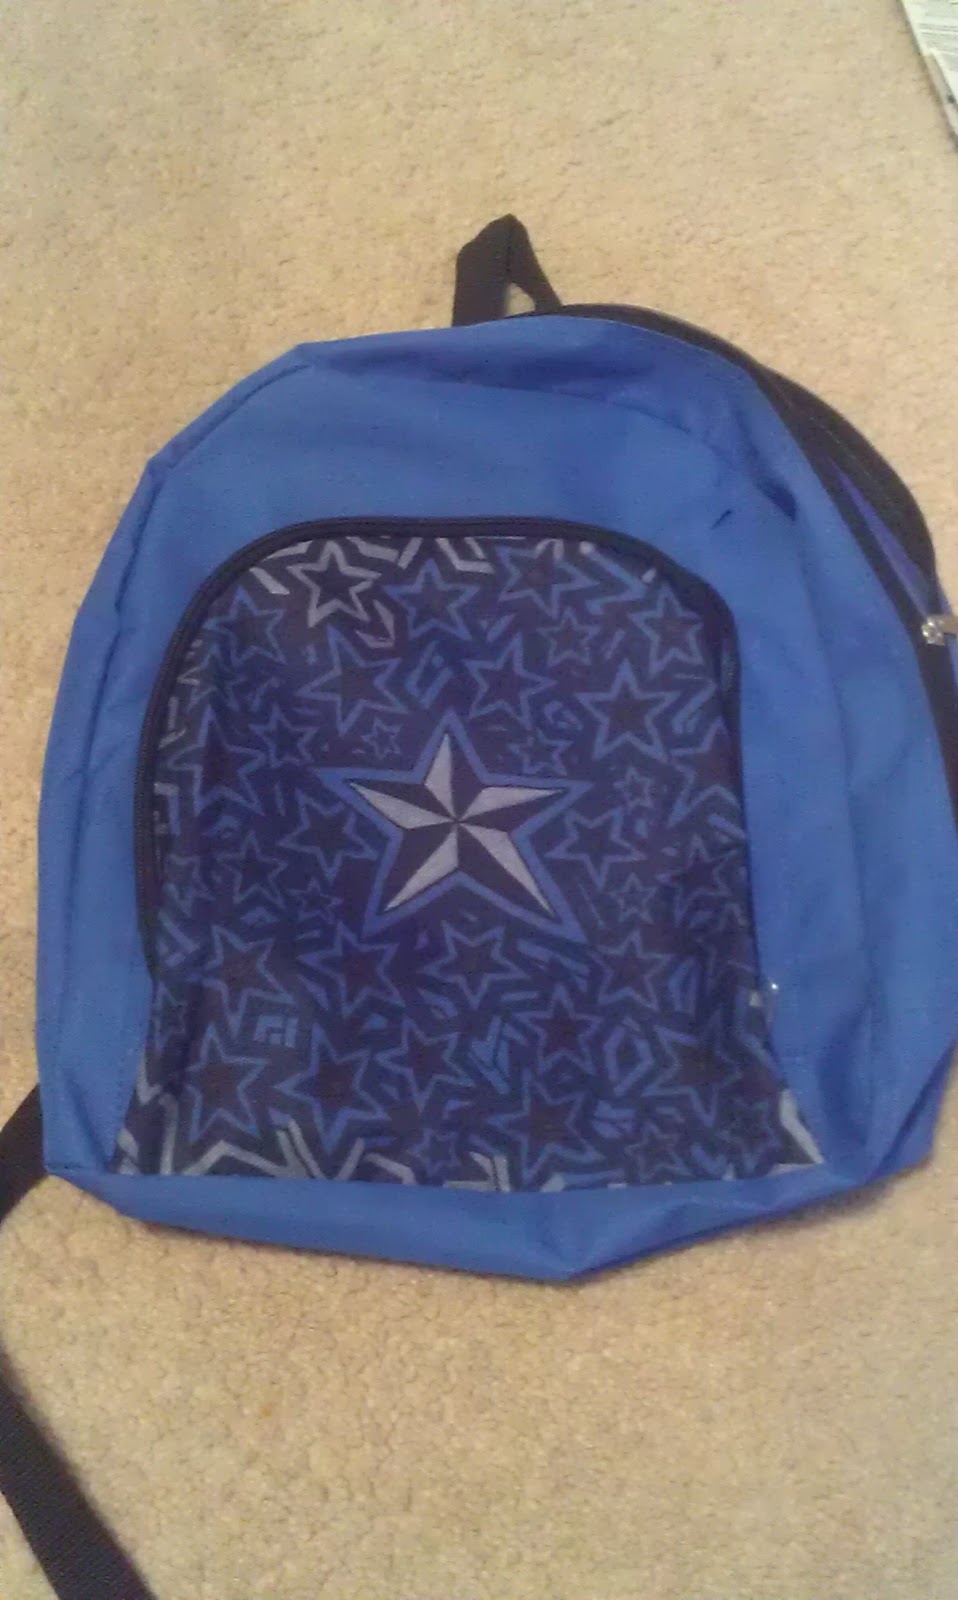
My younger sister also bought a plain backpack to carry around her high school.  Being the talented artist that she is (I'm going to do a post about her artwork soon), she used her medium of choice (Sharpies; always Sharpies) to draw her own edgier, freehand design.  She's not quite done yet, but doesn't it look awesome so far?

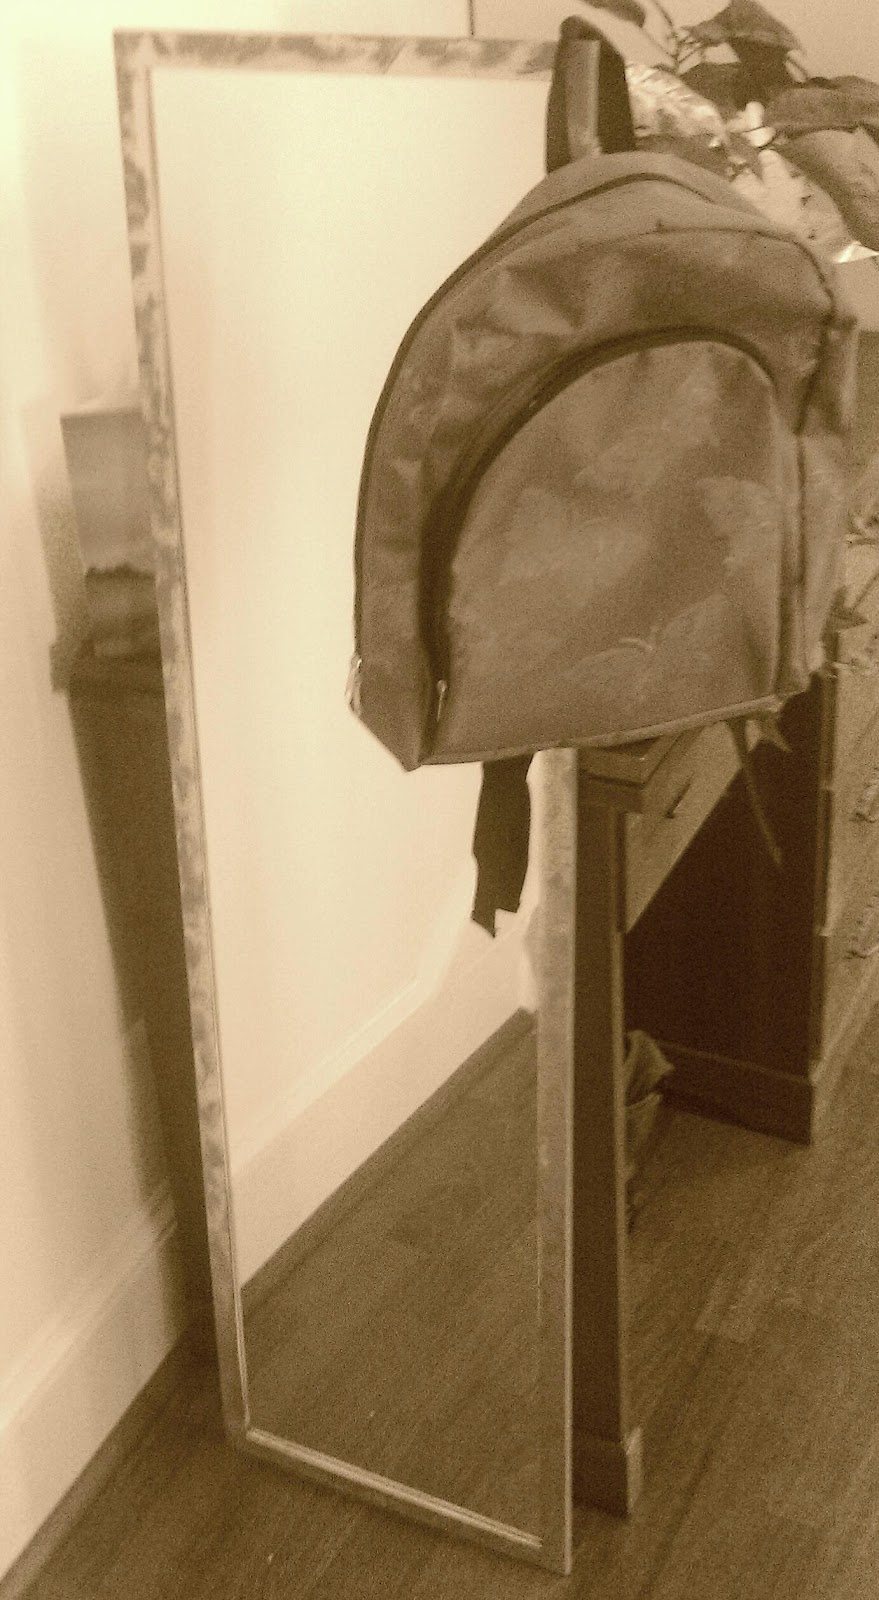
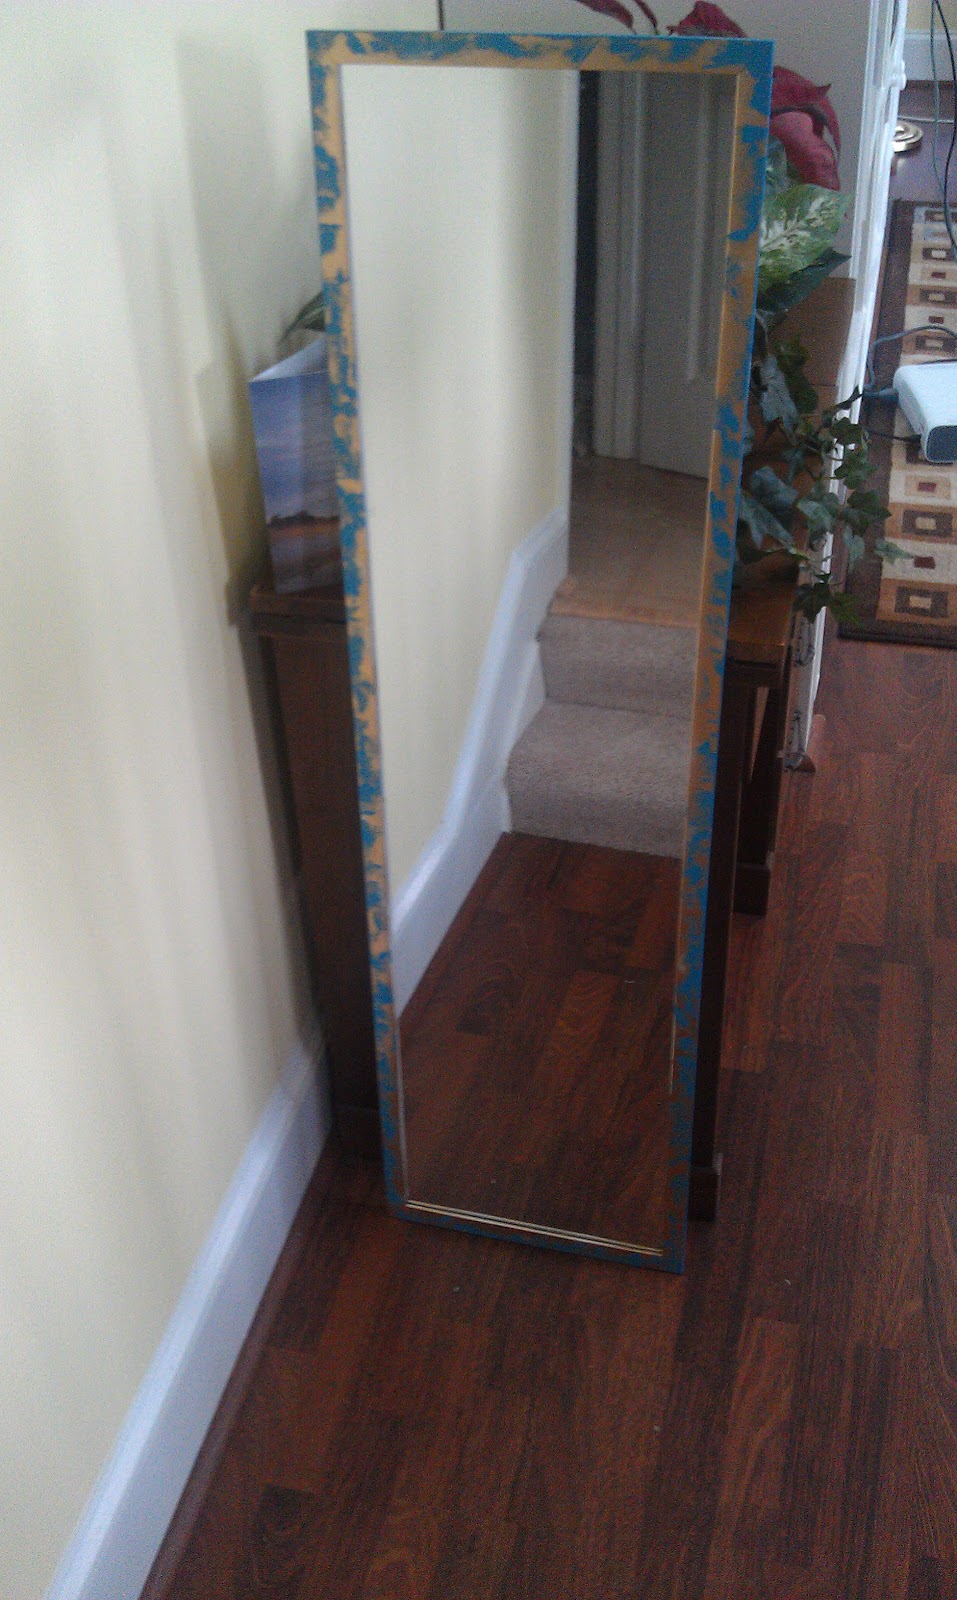
My second project involved making my boring, white-framed mirror a little more interesting.  I got this mirror from Target two years ago for $4:
... the problem was, it looked like it cost $4, which I was not a fan of.  Also, dust collected so easily on the white frame and made it look so filthy, that something needed to be done.  I had some leftover gold spray paint from my magnetic makeup board project and another, yet to be discussed project.  I planned to use it to dress up the plain white frame.  I covered the mirror with newspaper to shield it from getting painted and then began to spray my gold.  After covering the front of the frame with the paint, my little paint can decided to be empty.  Thus, I improvised, using the turquoise enamel from my jewelry holder project to sponge paint around the frame, filling in any white spots.  I actually loved the way this turned out, even though it was unexpected.  The gold and turquoise look positively regal together, while the spongy texture adds a bit of character and quirk.  Take a look at the end product!!


What did you think of today's DIY projects?  Are you excited to try any?  Stay tuned for more :)

Love, Leaza

P.S. Check out my previous Dorm DIYs here, here, here, and here!!

Sunday, August 19, 2012

Dorm DIY: I Feel Pretty and Witty and Bright

Hello, everyone!! I hope you all are having a fabulous and relaxing Sunday as the summer draws to a rapid close (my youngest brother goes back to school tomorrow!).  I have come once again to share yet another one of my DIY projects that I have been working on for college.  Today's DIY was pretty time intensive, but I love the results... readers, behold my Magnetic Makeup Board!!


I first got the idea for this project when I came across it on Pinterest.  The link for the article took me to Laura Thoughts, a lovely blog covering a wide variety of topics.  I learned from this post that she developed the original magnetic makeup board, and she details the steps she took to create it.  Now, I am one of the world's deepest sleepers which leads to chronic oversleeping which leads to rushed and disoriented mornings.  Though I don't usually wear much makeup (give me some L'oreal BB Cream and mascara and I'm happy), I would always go crazy trying to find my mascara that had somehow slipped to the bottom of my makeup bag.  When I saw Laura's tutorial, I got curious about how much makeup I actually owned, and I was pretty surprised at how much I actually had (even though most of it is reserved for special occasions and stage makeup).  I decided that if I owned it, I should try to get as much use out of it as I can.  As I've said before though, if I can't see it, I forget I have it.  Thus, I decided that creating this magnetic makeup board would be a useful project for me.

To start, I found an old dry-erase magnetic calendar board that I had gotten a few years ago at Target, but I haven't used since my freshman year of college.  I can't find the exact picture, but it looked rather similar to this:
Pretty generic and blah... not my style
I then found a few mini-cans of spray paint that I had gotten for approximately $4 each at AC Moore, one in metallic gold and one in baby blue.  I also got a spool of ribbon for $1.50 (it was 50% off), 2 packs of 15 count mini magnets for $1.89 each, and a 2 pack of Scotch glue (similar to Super/Krazy Glue) for $1.89, all from AC Moore.  I also used painters' tape, a locker basket, ribbons, and push pins, all found in my house.

First, I taped off the cork part with the painters' tape, as I wanted to keep it brown.  I then spray painted the entire dry-erase magnet part of the board blue, being sure to fully cover the words and calendar.  I then spray painted the frame gold.  I didn't tape off the main part of the board to do this because I wanted some gold to hang around the blue for a slight halo/airbrush effect.  However, if you want clean lines, I would recommend taping off the entire board.

After allowing the board to dry, I attached my ribbon.  I used a drop of glue on the ends and middle of each piece, attaching the first piece to the part of the board where the cork and metal meet, and then around the perimeter of the board.  This made the board look much sleeker.  I then attached my locker basket to the center of the cork.  Mine was covered in sticker goo from the stickers that covered it during my middle school and high school days, so I covered it with coordinating colors of ribbon before using my glue to attach it to the board.  However, that step is completely optional depending on which look you like.


Now, I began to glue the magnets to my makeup.  For heavier pieces, like my BB Cream box, makeup setting spray, and foundation, I used stronger magnets which I found around my house.  For smaller pieces, like eyeshadow, eyeliner, and lip stain, I used a few of my small yet mighty AC Moore magnets.  After allowing the glue to dry for a few minutes, I began to attach my makeup to the board.  I tested some pieces to see if more magnets needed to be added before arranging them as I liked, adding a cute little magnetic elephant friend named Taboo who has gone to school with me for 5 years now.  I also tied two 25 inch ribbon pieces to my main brushes (eyeshadow and foundation) and then used the pushpin to secure the ends of the ribbons to the cork board.  I then tucked my brushes, face lotion, dermatological goop-stuff, mascara, mini sunscreen, and handy-dandy Q tips inside the locker basket and... voila!  I had made my own unique version of the magnetic makeup board.


I'm not exactly sure where I plan to hang this at school; it's a toss-up between the side of my dresser or on my wall near my floor (I like to sit to do my makeup).  I'll be sure to show you when I post pictures of my fully decorated dorm room.

I hope you enjoyed today's project.  I highly recommend that you go out and try it (my version is WAY easier than the original ;)).  Remember, there are more awesome Dorm DIY's to come, so stay tuned!!!

Love, Leaza

P.S.  Make sure to check here, here, and here for my past Dorm DIY posts!!

Saturday, August 18, 2012

Dorm DIY: Wow Wow, Oh My God, Look at that Rainbow

Happy weekend, everyone!! Today, I am continuing with my Dorm DIY series as I prepare to return to college for the fall semester (six days and counting!).  Before I show you all my latest creation, I have to show you the insanely ridiculous, goofy, but awesome "song" that inspired the title of this post...


Now that I have that out of my system, let's move on to today's craft...

Being the severe Pinterest-addict that I am, I had seen fabulous melted crayon creations like this and this absolutely everywhere.  I fully intended on looking up a tutorial on how to make them, but life just got in the way and I got distracted by something else (story of my life).  However, last week, as I was browsing one of my favorite blogs, LaurenConrad.com, I stumbled upon a tutorial of how to make these colorful creations.  For those of you who don't follow her but like cute and easy DIY projects, LC has been uploading video tutorials of simple and easy crafts on her blog every week called Crafty Creations.  I have been slightly obsessed with these projects and I plan to try each of them throughout the school year when and if I have any spare time.

However, after seeing this video on how to make the adorable crayon wall art, I took initiative and set out to gather supplies.  Mike and I got a 24 pack of Crayola crayons for $0.50 from Target and a 10x10 white canvas from AC Moore (where they are 40% off this week, hurry and get one!!).  I didn't have any glue sticks for my glue gun, so I decided to use Super Glue to hold the crayons in place instead.  Here's how it turned out:

I spread my crayons apart slightly, but I like the look of them flush against each other as well.  This project took maybe about 10 minutes total to complete.  However, I do have a few tips of my own:
  • Try to use a blowdryer that has a separate fan speed setting and keep that setting on "Low".  Mine didn't, so as to not blow the wax right off the canvas, I had to keep the heat setting on "Low" for the most part, which took considerably longer to melt the wax.
  • Do this outside or in a well-ventilated location!!  I don't know if it was the hot super glue or the melting crayon wax, but Mike and I were overwhelmed by fumes galore while doing this in my closed garage.  We had to take a few breaks mid-project just to catch our breath.
I really, really, love this project.  I plan to hang it from my wall at school with an ever-trusty Command hook.  I adore how bright and fun it is and I think that the fact that its made out of crayons (my favorite school supply) gives it a fun back to school twist.  Though I took the easy way out and just laid the crayons straight across the canvas, get creative with this!! Lay the crayons out in different shapes or positions across your canvas, or add your own unique image or accents to the picture.  The possibilities are truly endless.

What do you think about the Crayon Wall Art?  Stay tuned for more Dorm DIYs!!

Love, Leaza

P.S. Be sure to check out my other Dorm DIY posts here and here!!!

Friday, August 17, 2012

Dorm DIY: That's Me Lucky Charms!

Hello, readers!! Today, I am continuing my series about fun and unique DIY projects that I have been working on throughout the summer.  These crafts are great for organizing, dressing up a space, and basically making your dorm room or home one of a kind!  The newest craft I've added to my collection is this jewelry tree, which is simply an upcycled candlestick.


As you can see, I have a wide array of necklaces, bracelets, and rings that I wanted a way to display.  Last school year, I simply hung my necklaces from my wall with Command hooks, but I wanted a more inspired solution.  I also stored my bracelets and rings in a jewelry box, but like I said yesterday, if I can't see something, I forget I own it.

I found this metal candlestick at my local Goodwill for three dollars.  It was filthy and painted a hideous mix of murky green and black, but I liked the shape of it and I liked how flexible the wire leaves were; I could position them anyway I want.  In order to have the hooks hanging from the top, I had to flip the candlestick upside down.  My dad then sawed off the tiny cup that held the candle so that I could have a flatter and wider base.  However, after some experimenting, I realized that the base was still too small; the weight of my jewelry could easily throw it off balance.  So, I went to my local AC Moore (that store has gotten so much business from me this summer) and I picked up a flat finished wood circle for a mere $0.79!  I then added two coats of inexpensive turquoise gloss enamel (also purchased at AC Moore) to help beautify and unify the two parts of my craft.  After allowing both parts to dry for about an hour, I connected them using my ever-trusty Super Glue.  I added all of my jewelry to the various hooks and bars and leaves and TADA!! I now have myself a one of a kind jewelry tree!


Why did I paint it turquoise?  Though it seems like a random choice, there was a method to the madness.  I initially wanted to paint the candlestick gold, but then I realized that much of my jewelry would simply blend in and make it more difficult to locate, grab, and go (something that is CRUCIAL to the college girl always on the run).  I chose this turquoise because the golds and silvers of my jewelry contrasted really beautifully against it.  Also, this shade is a slightly darker variation on one of my favorite colors in the world and will really go nicely with the colors of my room.

What do you think of this DIY project?  It was super easy and cheap and fun!! I'm so excited to display it in my dorm room in a week!!! Stay tuned for more of my crafty creations!!

Love, Leaza

P.S. Be sure to check out my other Dorm DIY post on my Hanging Earring Display!!